Thursday, December 8, 2011
Christmas Candy Skirt
Made with Riley Blake Christmas Candy fabric. I was so excited to make/put the pink ruffle on the bottom. It's just so fun! And I haven't made a ruffle like that on anything for K* yet. It won't be the last either. I planned to make a gingerbread girl tee to go with it. But, now I'm thinking it looks great with the pink tee plain (it's the same pink as the bottom ruffle). If I do make an applique tee for it, I think I'll go with trees instead though. I made the skirt to fit more than one year, so maybe I can just make a tee next year. The pink and green are fun together. I wasn't sure I liked the green ribbon after sewing it on at first, and thought it was either too thick or I should have left it off, but I'm liking it now. K* is going to wear it to school tomorrow, so that will help me decide about the tee. I laid out white leggings (it's actually cold here this week) and she came out and asked why she couldn't wear the bright pink leggings she has instead. We'll see how things end up in the morning I guess....
Penguin Skirt
Penguin fabric from JoAnn's. Black fabric from Riley Blake Trick or Treat. There was some cute black swirly fabric at JoAnn's but I decided to be good and use up the black I had that I didn't use for Halloween. I was on the ball and made this skirt (and another one) beforeThanksgiving. I plan to make a pengiun tee shirt to go with it, but we'll see. I'm eager to get on to other projects I hope to have done as Christmas presents.
Wednesday, November 23, 2011
Have a Thankful Heart
Made this thankful heart board for Thanksgiving based on an idea I saw here. I need to get over my worries when it comes to sanding boards. I may take the sandpaper to this one some more when I figure out some good sanding techniques. It looks a lot better too on my bar next to some small pumpkins and other Fall decor.

HAPPY THANKSGIVING
Monday, November 21, 2011
Thankful leaves banner
I saw the idea for this thankful leaves banner on Carina Gardner's site a few days ago. Today, I sat down and made it with the kids before lunch after making Indian headbands with paper feathers. I cut the leaves out by hand out of yellow, golden yellow, orange and red card stock using the template Carina provides. It didn't take long to make. K* was taking her time writing on her first leaf and S* was busy in the living room, so I just cut them out myself. And I just happened to have a stash of mini clothespins in my crafty supplies to use to hang the leaves up. We decided to hang it in the window in the kitchen. I figure we haven't been doing it all of November, but a few days the week of Thanksgiving break will still be fun. I'm glad we sat down and did it this morning.
Tuesday, November 15, 2011
Orange Polka dots & Turkey
Orange polka dots fabric from JoAnn's; Turkey shape from silhouette; Skirt pattern based on the pink fig girly skirt
I love how the white ribbon looks with the orange polkadots fabric. Orange seemed to be the color of the week last week when I was sewing. I love Autumn colors. The turkey applique was quick & easy and I was able to sew it all on with my sewing machine (unlike the candy corns for Halloween last month). I had K*wear this outfit for some pictures I took of her & S* over the weekend.
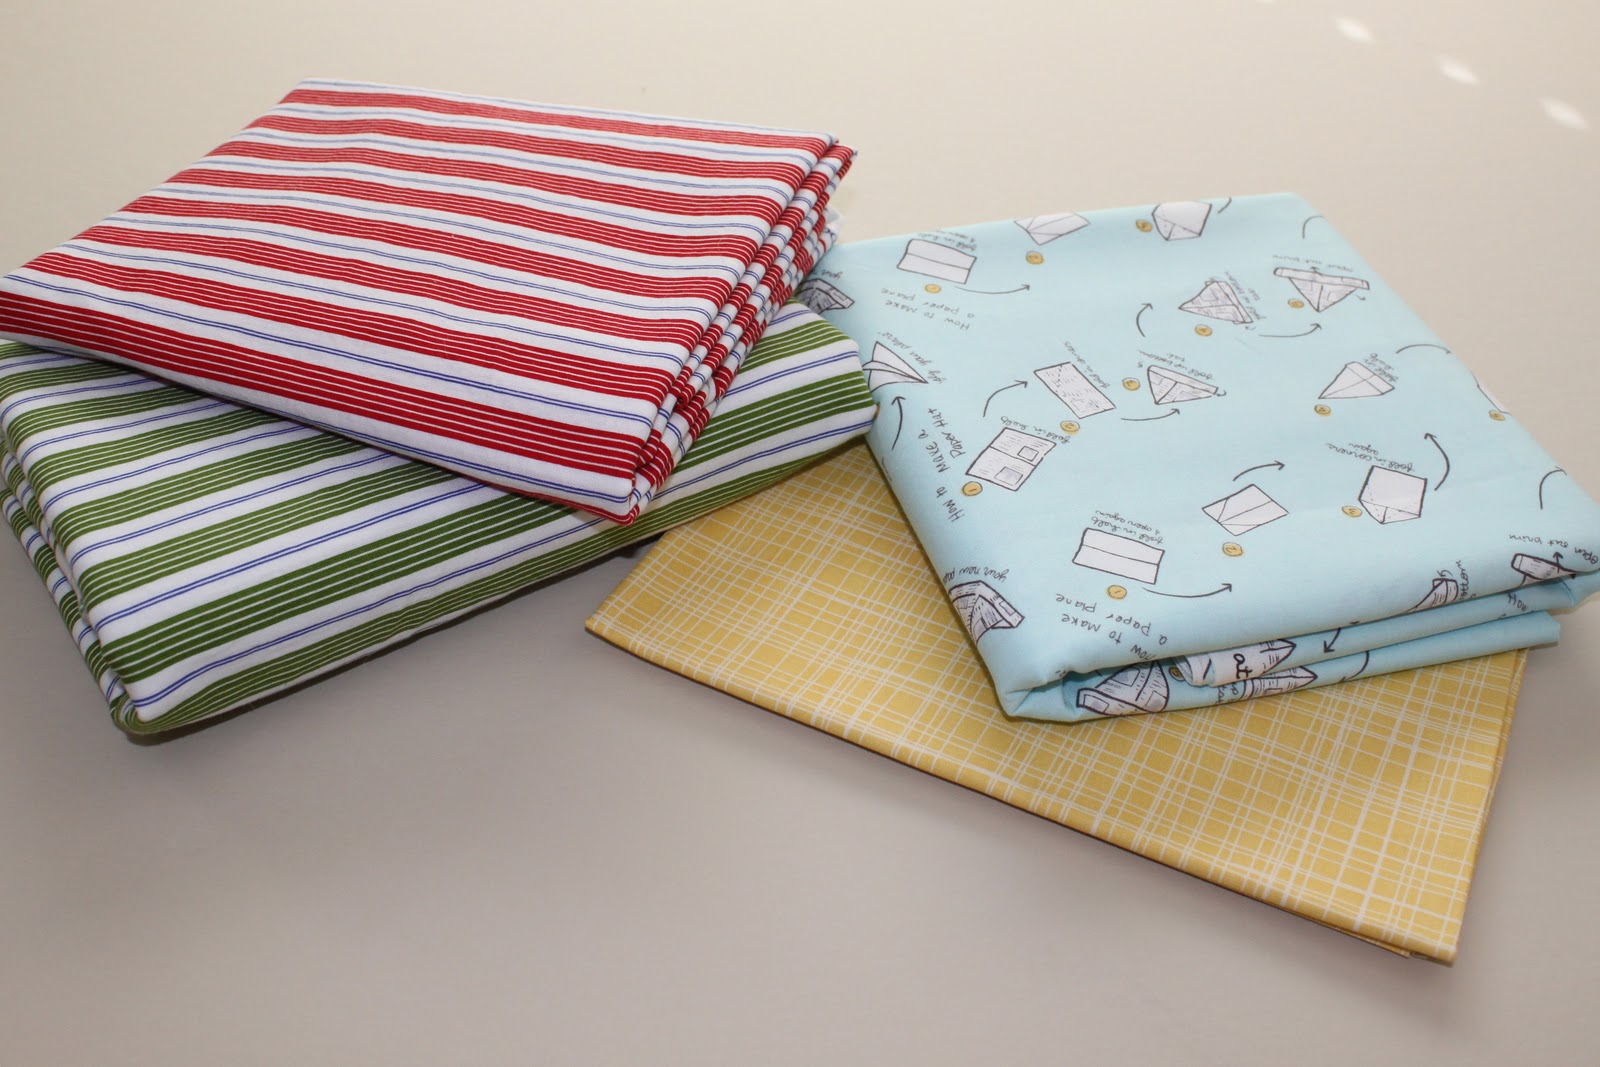
AND, a peek at some of the latest fabrics to join my stash (as if I needed more....) About half I hope to use before Christmas to make some things for my kids.
Fall Yard Stake
Polkadots & Summer in Orange
Fabric: White twill and Orange scrappy and happy baby #3530 by Jane Selck
It was my first time sew pleats in clothing. They weren't too bad to iron & sew. I'd put pleats in something again. Actually, I hope to (someday) make some skirts for myself with pleats. We'll see though. I got the pattern earlier this year (or was it last....) as part of a kit. I thought I'd try it out with some different fabric before cutting into the kit fabric. You have to add the seam allowance yourself for this pattern, which I'm not a big fan of. Especially when trying to do some minor alterations to length and such on a pattern I've never sewn before. In the end it turned out though. I don't understand why people make patterns without the seam allowances, there must be some reason for it, I just don't know what it is. This is the first pattern I've run into that though. I have some others that you need to add the seam allowance, but I'll just cut out the next size up and use the difference as my seam allowance, I hope that will work. This pattern however, I was making the biggest size, so that wasn't an option.
Thursday, October 27, 2011
Batty Wreaths & Thistle Spiders
I'm so glad I made the time to make my batty wreath, I LOVE it! I came across the idea on Carina Gardner's site.
I cut bats out of various Halloween papers with my silhouette, glued them onto a vine wreath from Hobby Lobby with hot glue (my hot glue gun is getting a lot of use lately), attached a ribbon and bow and hung it up on my front door. I already had the supplies and bats cut out, so when I finally sat down to make it, it was 45 minutes tops.
I also made a mini one for my pantry door with smaller black bats and orange ribbon. I like it, but I like the big one better. Maybe it needs more color? I think I'll leave it alone for now, but I can always go at it again next Halloween.
Today after school, we made thistle spiders, 15 of them. My sister in Utah, mailed me some thistles last week and I was so excited to get these made. We made them as kids with my mom, so it was fun to make them with/for my own kids. I had forgotten about thistle spiders until coming across them in blogland last year, so this year we were ready with the supplies needed.
I pretty much made them how she does in this tutorial on Every Creative Endeavor. I tried to coat mine really well with the black spray paint, I wanted them nice and black. The kids each picked one out to have in their rooms, one even "watched" S* do his homework, several are going with DH to work tomorrow, the kids want to give them to their teachers and I guess we'll scatter the rest around the house. We may need to make more next year.
HAPPY HALLOWEEN!
Wednesday, October 26, 2011
Rapunzel {and her hair}
This costume was fun to make. It mostly turned out how I envisioned, which isn't something that always happens. At first I was worried. They no longer had the fabric I originally wanted at Jo Ann's so I had to pick something else, which I like better anyway. Then I wasn't sure the sleeves I added to the pattern (the original pattern doesn't have sleeves) were going to look right, but they seem to have turned out fine. I have never added sleeves to something that didn't already have them before. I used a pattern I bought a few years ago, and it was perfect for this year. McCall's 5153. I think it's out of print now. I have noticed a crisscross ribbon trend in my costume making. I have unintentionally used patterns with crisscross ribbons for three costumes (rapunzel, bo peep, and a princess). The dark purple fabric is luna blooms by Sue Zipkin for Clothworks.
After posing for a picture, she twirled.....
and twirled some more.....
then she rested.....
before twirling some more.....
and some more.
I'm so glad that she loves to wear it and twirl around. Makes having spent the time to sew it even better.
I used Carron simply soft yarn in Autumn Maize (hobby lobby). I'm into my third 6 oz. skein because of mess ups, but you'd probably only need one skein, two tops to be "safe". I also used light pink offray ribbon and purple & pink rose like fake flowers from Hobby Lobby. Each section of the braid has 60+ strands. You could do each 60+ strand section separately and then tie them together to braid (what I did for the head band part) or just divide 180+ strands into three sections to braid (what I did for the long braided part that hangs down). I nailed two nails onto a long board and looped the yarn around them to make things faster and easier. I then tied the top off with a piece of yarn and cut the bottom loops before braiding. I left the tops uncut & looped. I slipped the headband part through the loop of the long braided part to help things seem more secure and to hide where the two ends meet on the headband part. I don't know if any of this makes sense, but I hope it might help someone out rather than going through some of the trial and errors I encountered when making one.
Subscribe to:
Posts (Atom)