This costume was fun to make. It mostly turned out how I envisioned, which isn't something that always happens. At first I was worried. They no longer had the fabric I originally wanted at Jo Ann's so I had to pick something else, which I like better anyway. Then I wasn't sure the sleeves I added to the pattern (the original pattern doesn't have sleeves) were going to look right, but they seem to have turned out fine. I have never added sleeves to something that didn't already have them before. I used a pattern I bought a few years ago, and it was perfect for this year. McCall's 5153. I think it's out of print now. I have noticed a crisscross ribbon trend in my costume making. I have unintentionally used patterns with crisscross ribbons for three costumes (rapunzel, bo peep, and a princess). The dark purple fabric is luna blooms by Sue Zipkin for Clothworks.
After posing for a picture, she twirled.....
and twirled some more.....
then she rested.....
before twirling some more.....
and some more.
I'm so glad that she loves to wear it and twirl around. Makes having spent the time to sew it even better.

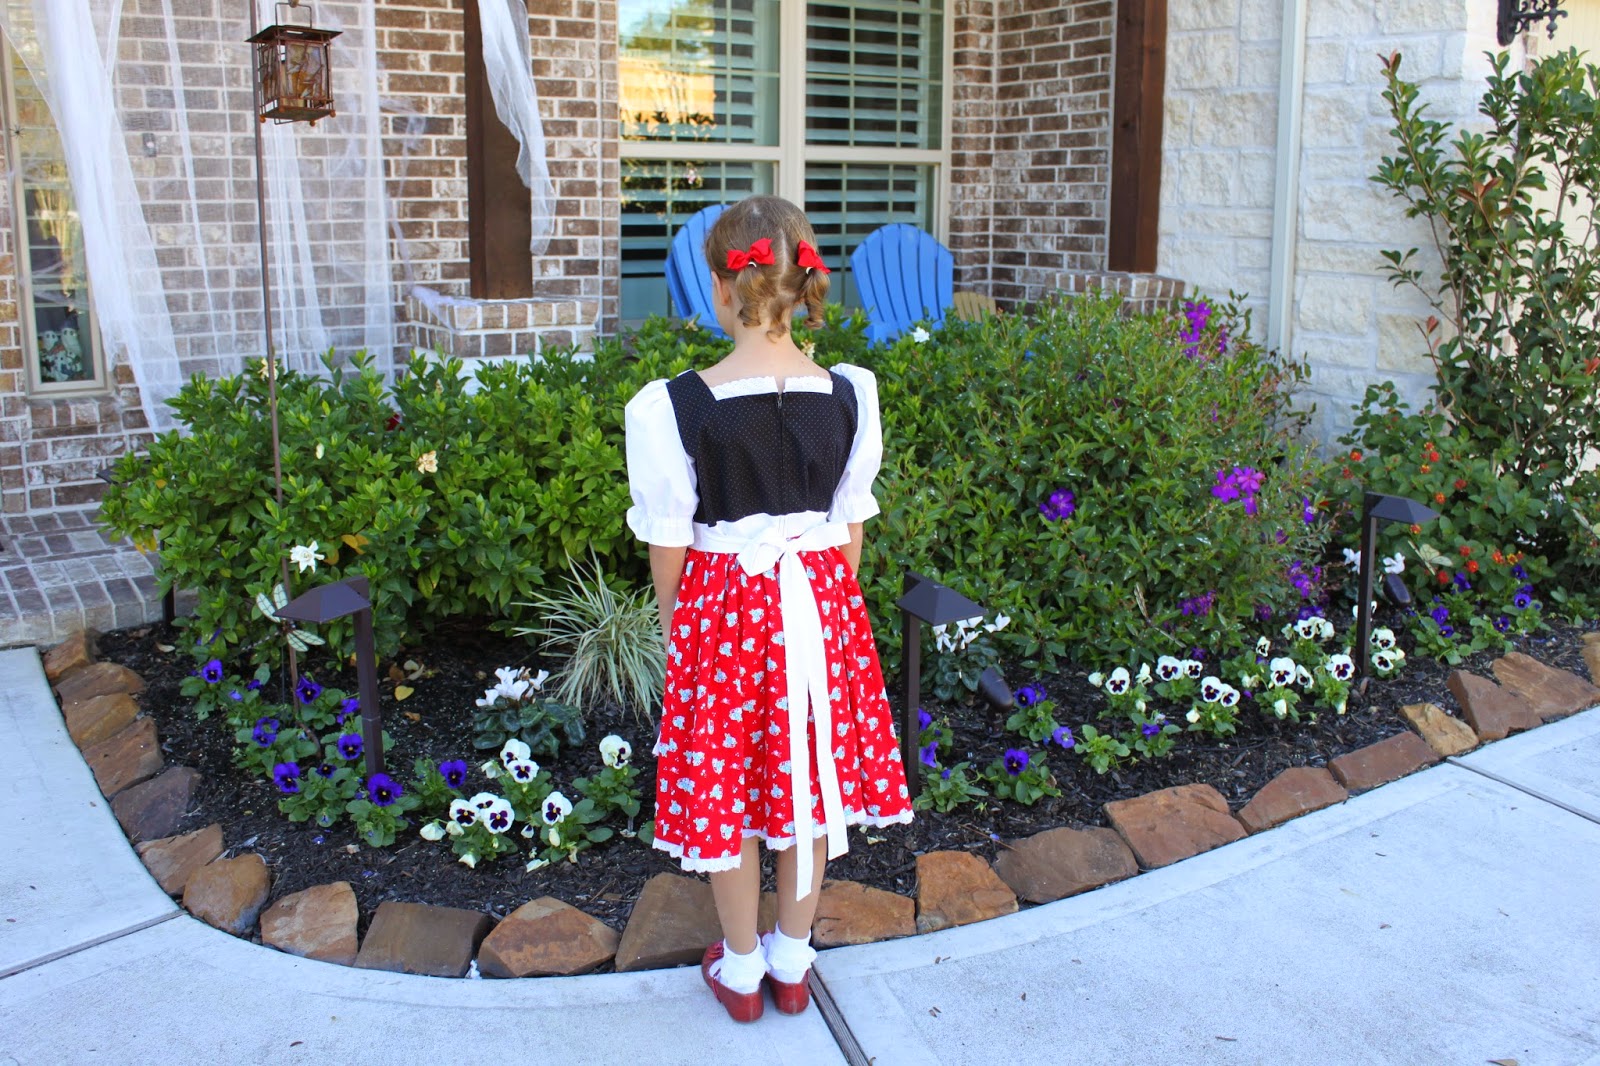
The hair of all things actually gave me more trouble than expected. I started off following the instructions from the Simplicity Disney Tangled pattern, but the measurements were off and I had to mess around with it a bit. I ended up cutting the yarn for the head band part 34 inches long (the pattern said to cut the yarn 18 inches long, no way that was going to fit her head after it was braided, maybe not even a baby's). I had a second attempt after the 18 inch failure, which after braiding it, it ended up being an inch or two too short to go around her head. Rats! Third time (yarn cut at 34 inches) worked out just about right. In the pictures above, the second attempt for the headband was loosely attached as the longer braided part to see how it would look. K* asked if I could make it longer though. At first I didn't want to waste more yarn to make a longer braid, but on Friday before she came home from school, I decided to make a longer one. And since she wasn't there to measure, it ended up plenty long, almost touching the ground. I cut the yarn strands 48 inches long. After braiding and attaching it, I hot glued flowers onto it and it was ready for the trunk or treat that night. Maybe next time she wears it, I can snap some better pictures to show the back where it's attached together. Nothing like a carnival a week and a half before Halloween to help keep me on top of getting the costume made so I'm not finishing it up last minute on Halloween. Yay!! I put a picture from that night at the end of this post that shows the finished hair.
I used Carron simply soft yarn in Autumn Maize (hobby lobby). I'm into my third 6 oz. skein because of mess ups, but you'd probably only need one skein, two tops to be "safe". I also used light pink offray ribbon and purple & pink rose like fake flowers from Hobby Lobby. Each section of the braid has 60+ strands. You could do each 60+ strand section separately and then tie them together to braid (what I did for the head band part) or just divide 180+ strands into three sections to braid (what I did for the long braided part that hangs down). I nailed two nails onto a long board and looped the yarn around them to make things faster and easier. I then tied the top off with a piece of yarn and cut the bottom loops before braiding. I left the tops uncut & looped. I slipped the headband part through the loop of the long braided part to help things seem more secure and to hide where the two ends meet on the headband part. I don't know if any of this makes sense, but I hope it might help someone out rather than going through some of the trial and errors I encountered when making one.